

Solar Engraving : 8 Steps (with Pictures) - mcgaugheytrachattee
Introduction: Solar Engraving
Learn to focalize the energy of the sun into a single ray of light capable of engraving unreal, leather, cork, Grant Wood, and some other organic fertiliser materials. If you ever experimented with a hand glass extrinsic on a cheerful day, you are probably already familiar with this technique.
This project is part of my non-slave Solar Class, where you pot learn more ways to harness the sunbathe's vitality through backyard projects like this one as well as solar panels.
The scientific discipline at work here is the concentration of energy using a lens. To each one beam of light carries energy along with it. Normally these rays are evenly spread out over the objects they slay, so no lone point is getting a mint more or less energy than nearby areas.
The magnifying glass is a lens that focuses beams of loose coming into it, concentrating umteen rays' zip into more localized Department of Energy. If your bodily is at the rightfulness distance and orientation from the magnifying glass, all the light coming through the genus Lens is massed into one spot on the material, heating it up enough to tan. A like-minded method acting victimization fields of mirrors pointing towards a central aggregator is used to heat up irrigate for steam clean power generators.
This project will involve creating a stencil you tin use all over and over, and then trying information technology out on a few materials. To get started, read on!
To keep up with what I'm practical on, follow me on YouTube, Instagram, Twitter, Pinterest, and sign to my newsletter.
Let's go!
Step 1: What You'll Indigence
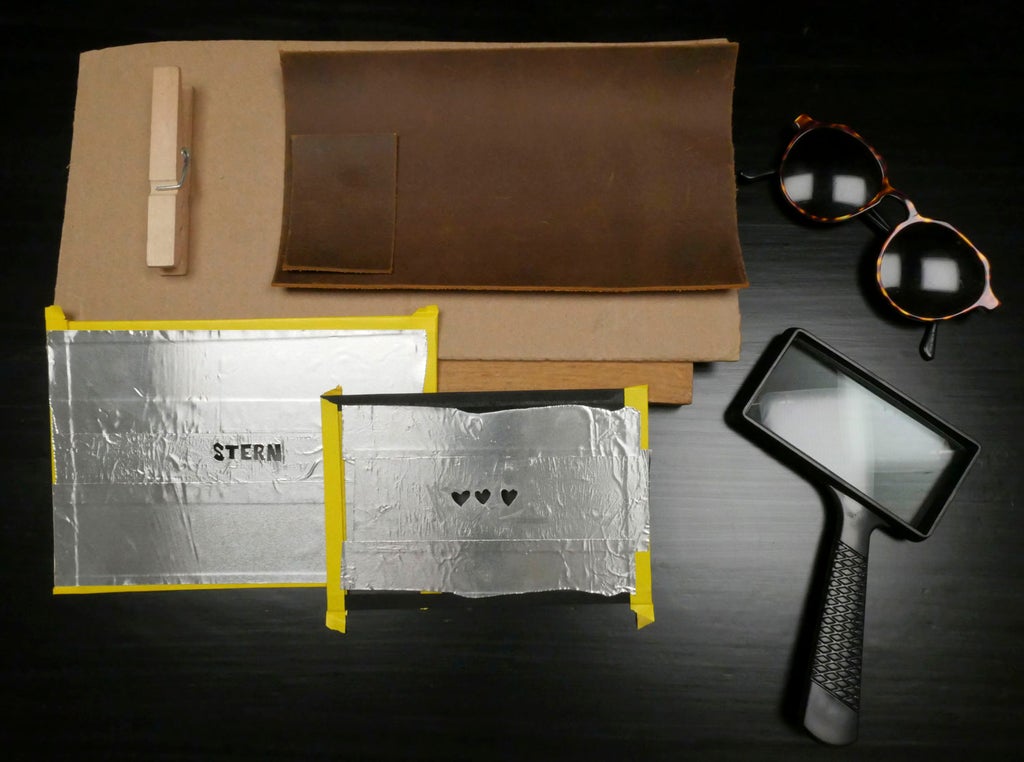
You don't need much to practice your solar etching skills. To follow along with these instructions, gather up together:
- Simple microscope
- Little piece of glass (such atomic number 3 from a picture chassis)
- Record for the glass edges (masking, duct, artist, gaffer's, etc.)
- Aluminum duct tape
- Pencil or sharp enforce such as an awl
- Trade tongue
- Cutting mat
- Tweezers (optional)
- Dark shades
- Organic materials to inscribe (so much every bit unreal, leather, cork, wood)
- Spray bottle with water
- Fire extinguisher (recommended)
Eastern Samoa an Amazon Link up I take in from limiting purchases you make using my affiliate links.

Step 2: Tape Glass Edges
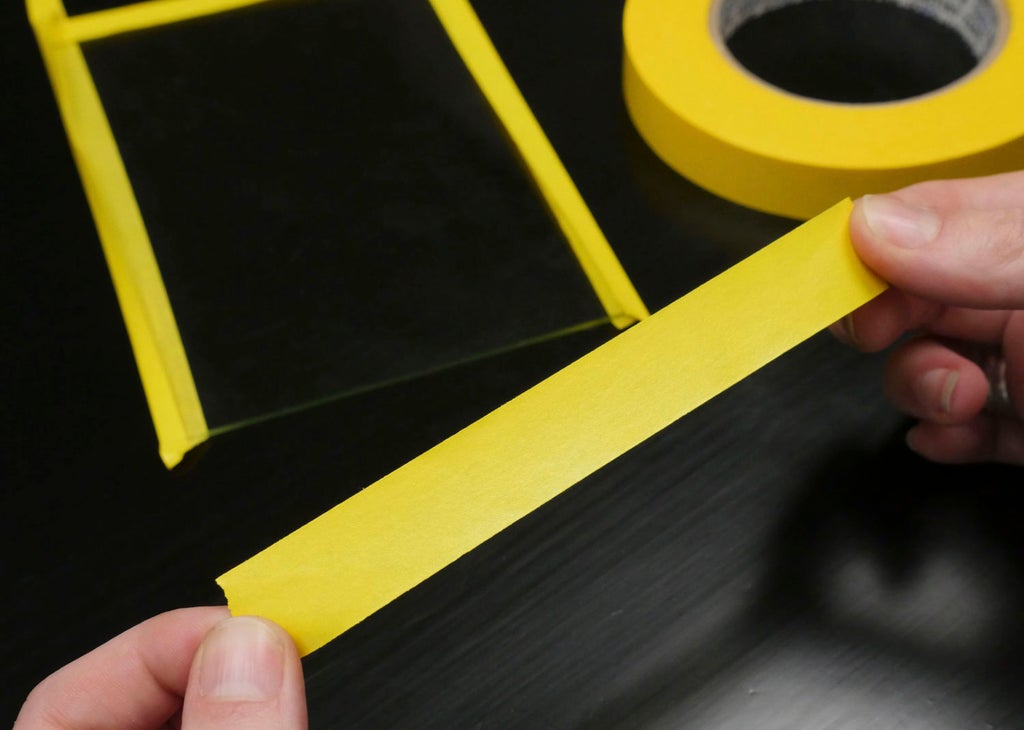
Outset off, let's make the tras a bit safer to work with. Tape upward the edges with some tape of your choosing (such as masking, duct, creative person, gaff, etc.).
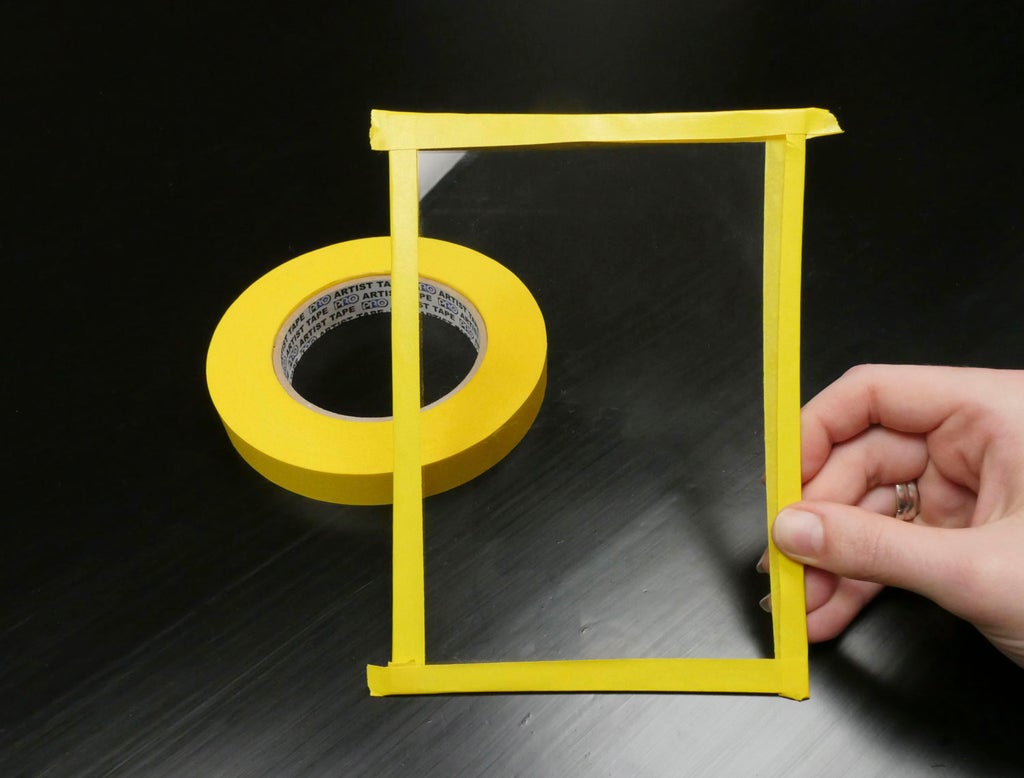
When all the piercing edges are covered in tape, the glass is much safer to handle because it's to a lesser extent likely to cut you. Set it aside and mother ready to throw the stencil design!
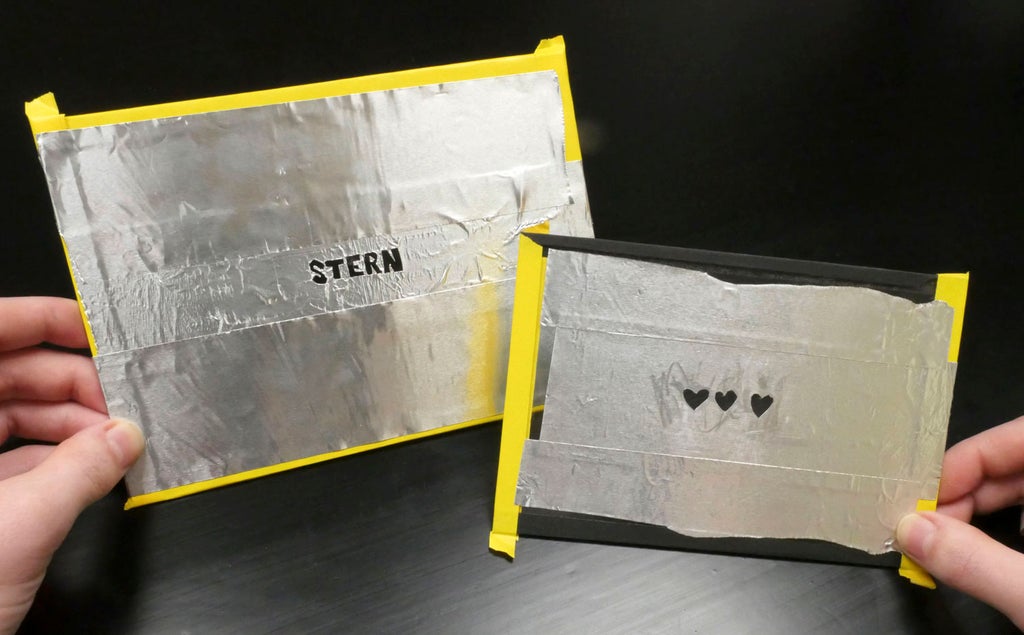
Step 3: Draw Your Stencil Innovation
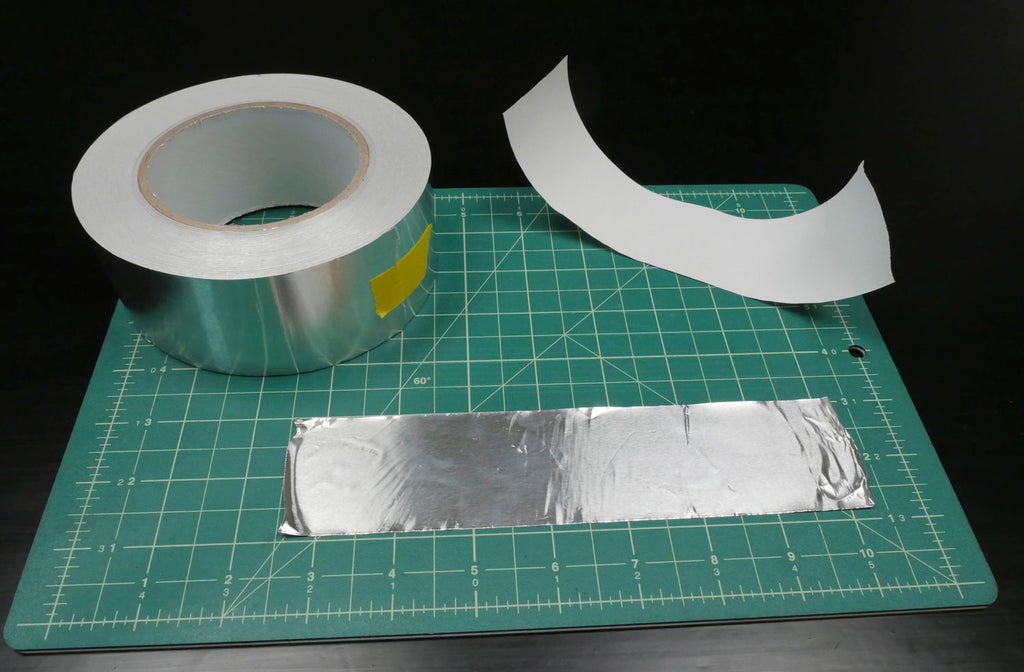
Grab your sharp flatness, aluminum channel tapeline, pencil Beaver State other pointed implement, and your craft knife.
Draw and a linear design of your choice on the aluminium tape. You can use a pencil or the sharp summit of an awl— anything pointy will exercise. You can engrave somewhat crisper lines if you place your stencil tape-side down, which requires press clipping out your design backwards if it's not bilaterally symmetrical.
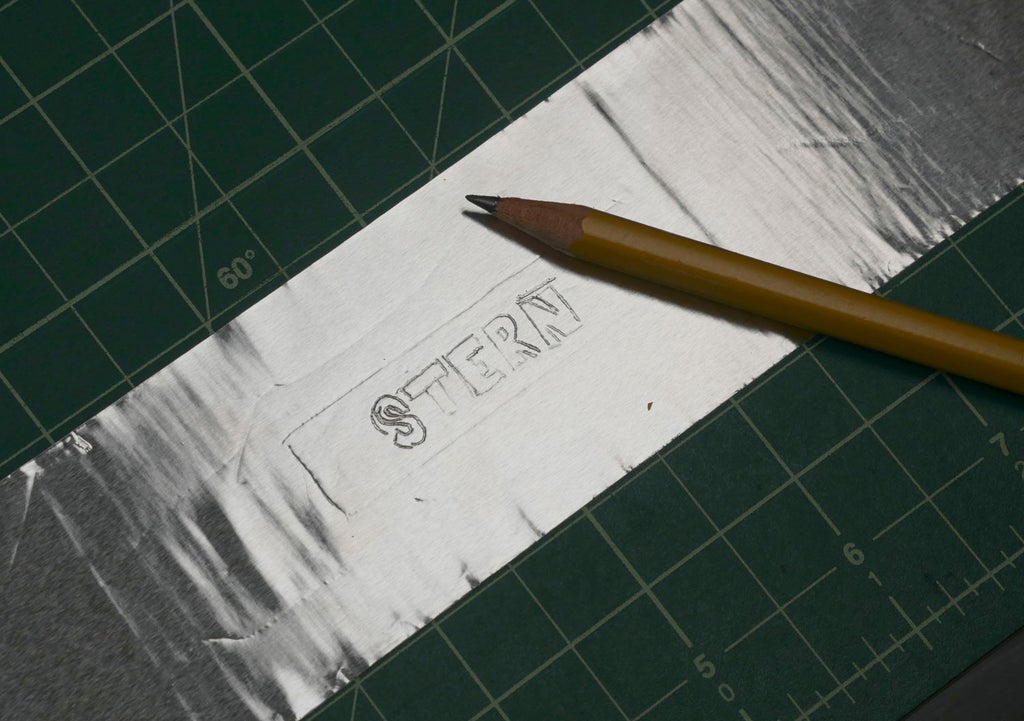
The simpler the shape, the easier it volition be to change flawlessly to the drinking glass. The little the shape, the more apace you'll be capable to scratch it with the sun. I recommend starting with some simple geometric shapes to starting line out! Try hearts, stars, and other shapes with acerate geometry.
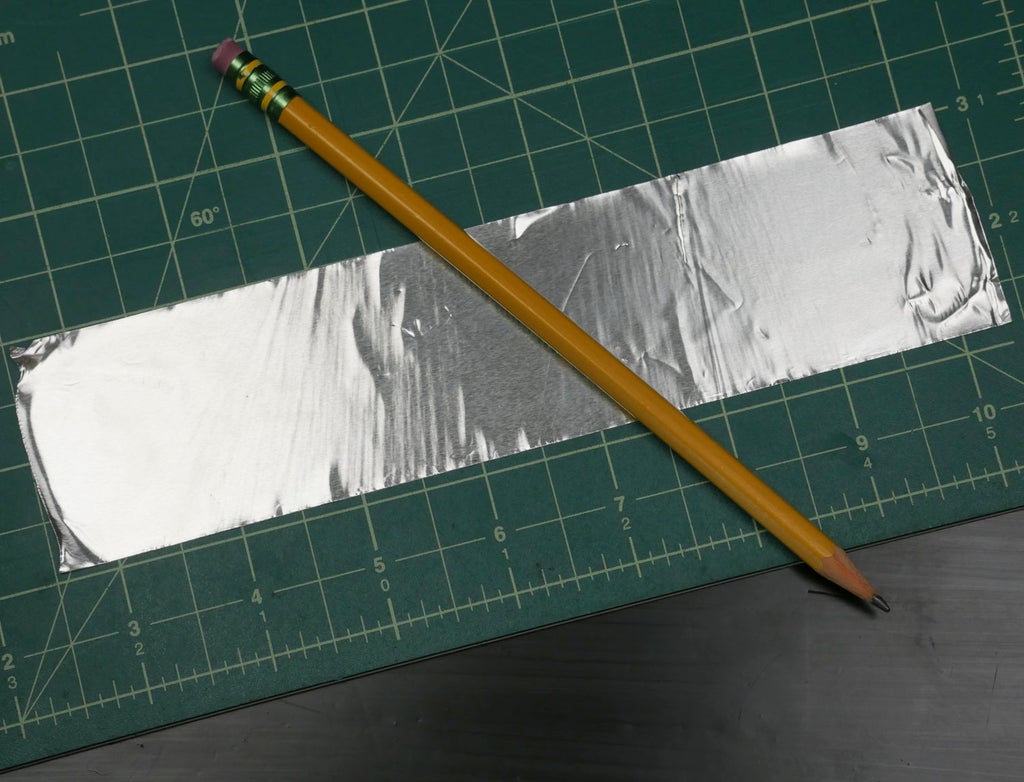
Ill-trea 4: Cut Out Design
With kid gloves cut out your stencil plan with a sharp craft knife. You can use a ruler if your lines are straight, but don't overshoot the cuts because we are retention the stencil, not the interior shapes.
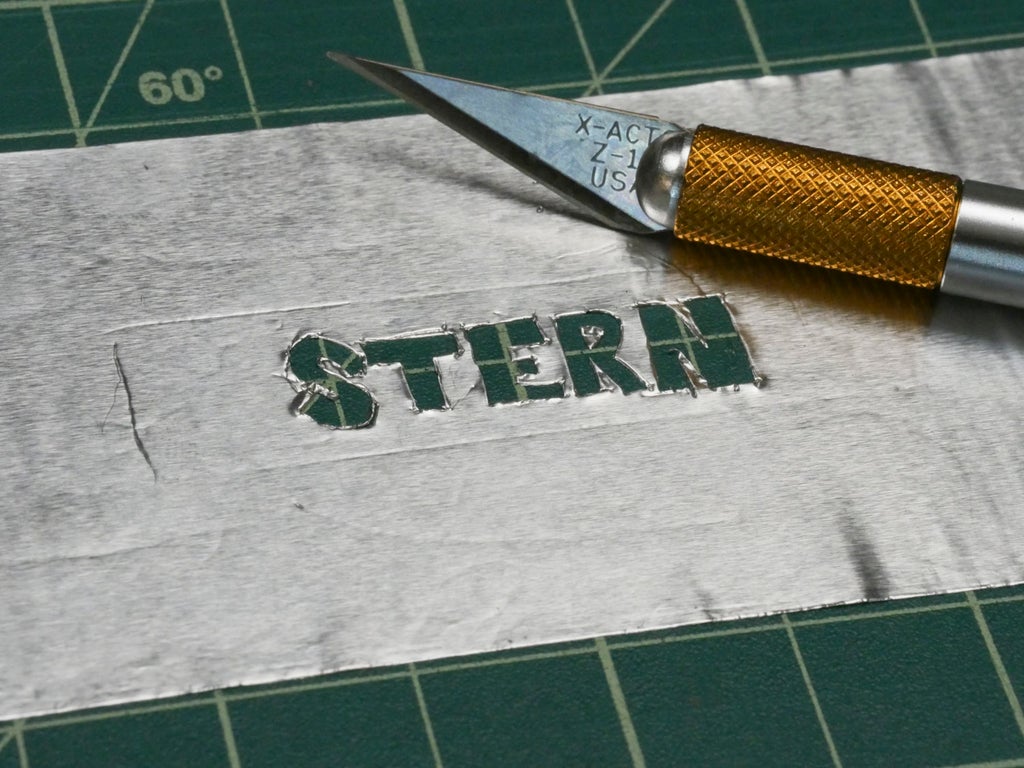
Remove the aluminium magnetic tape in the areas you hope to engrave.
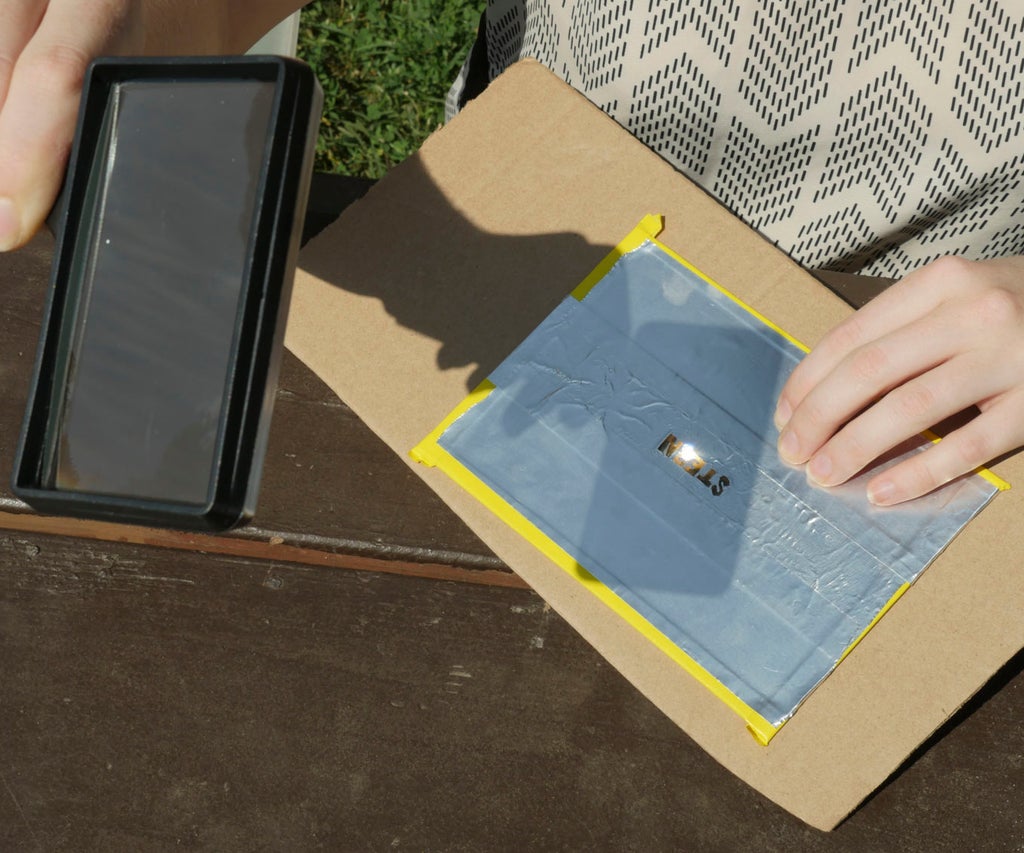
Step 5: Transfer to Glass
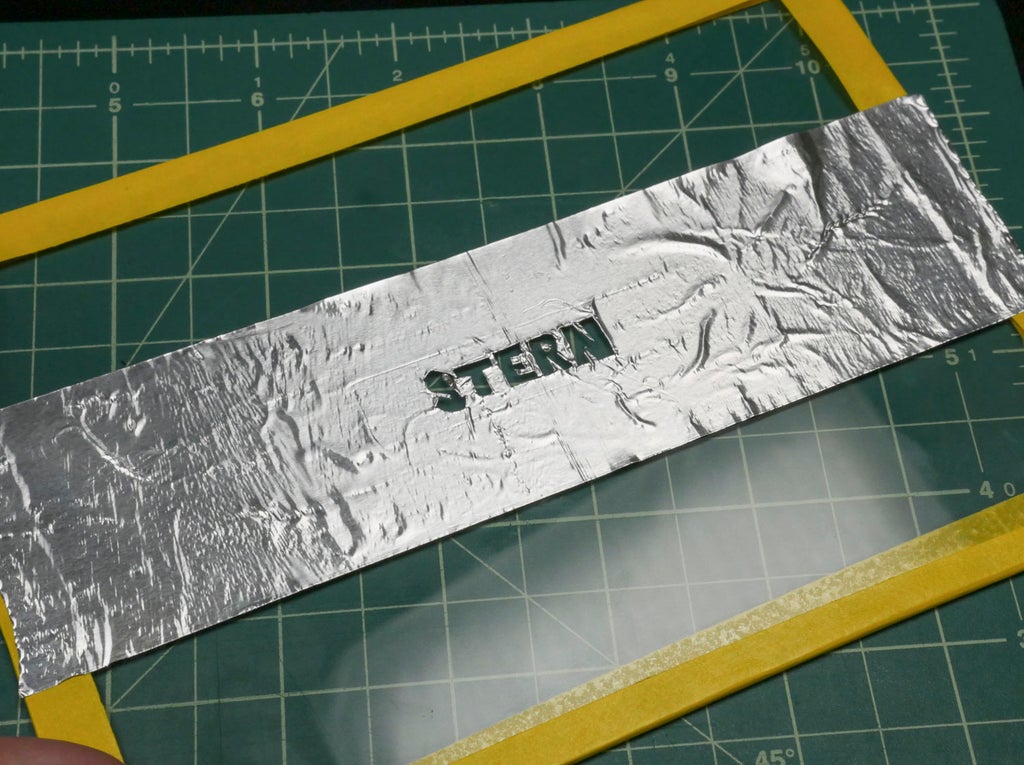
Carefully transfer the stencil to the center of the glaze, and fill in the remaining glass with more metal tape.
If your stencil tears or warps during transfer, use your pencil or a pair of tweezers to repair it.
Press the videotape down unwaveringly all some the stencil area to ensure it is matt to the glass.
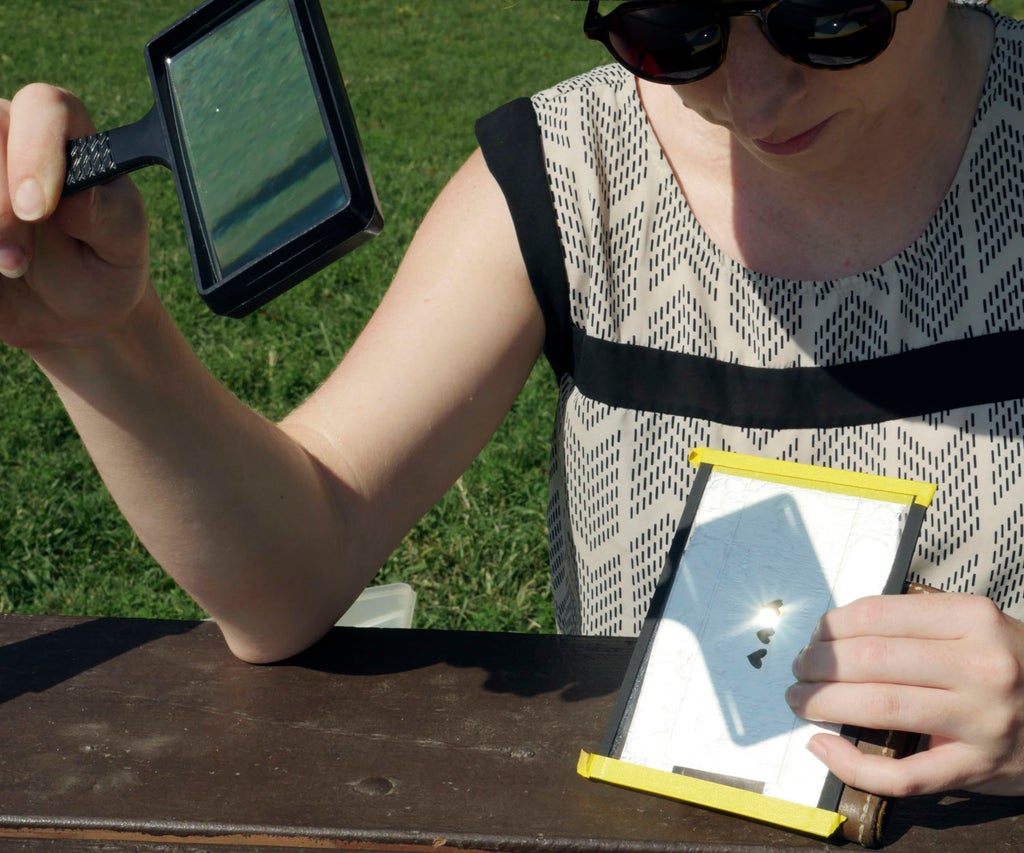
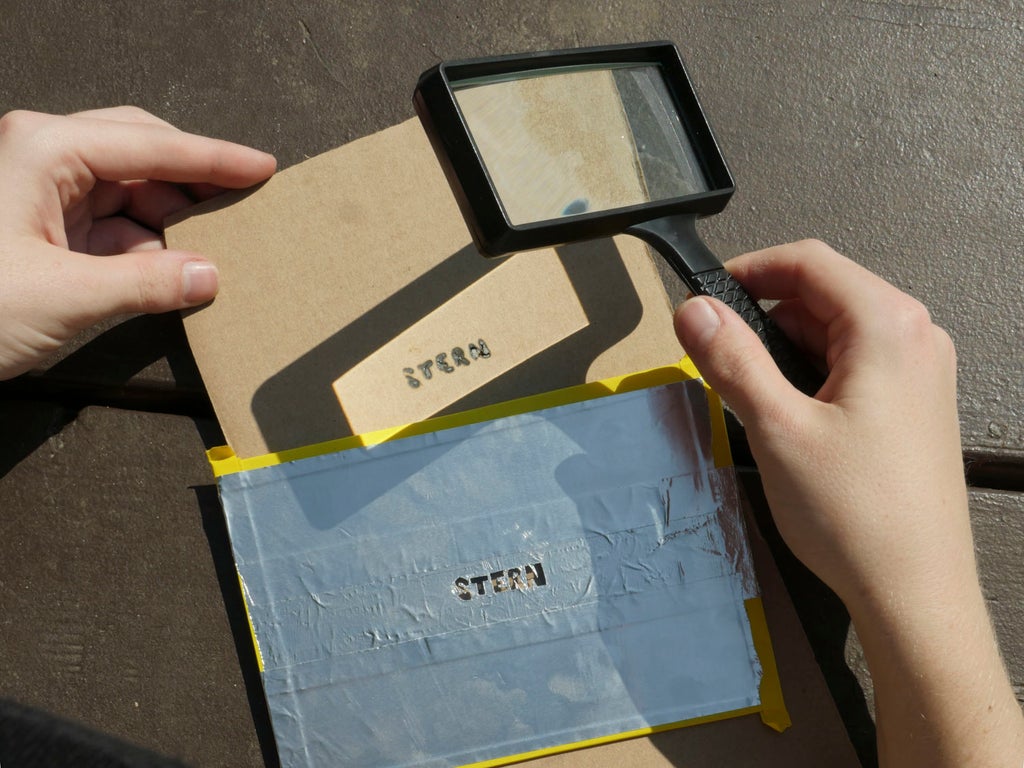
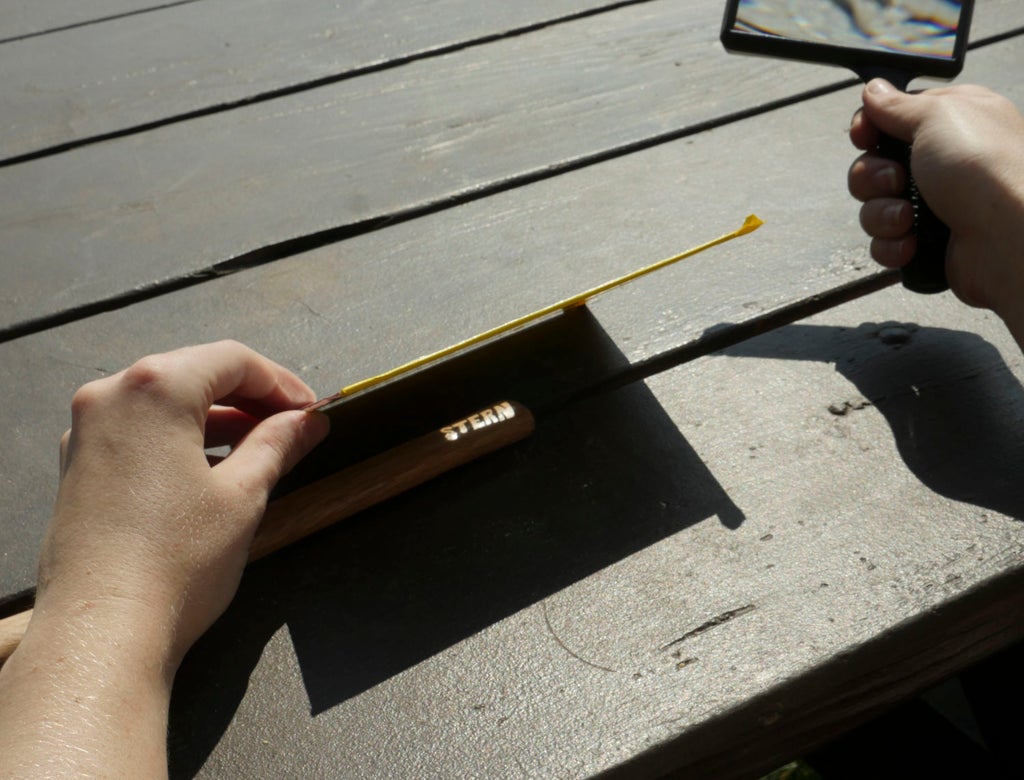
Step 6: Get Outside, Get Engraving
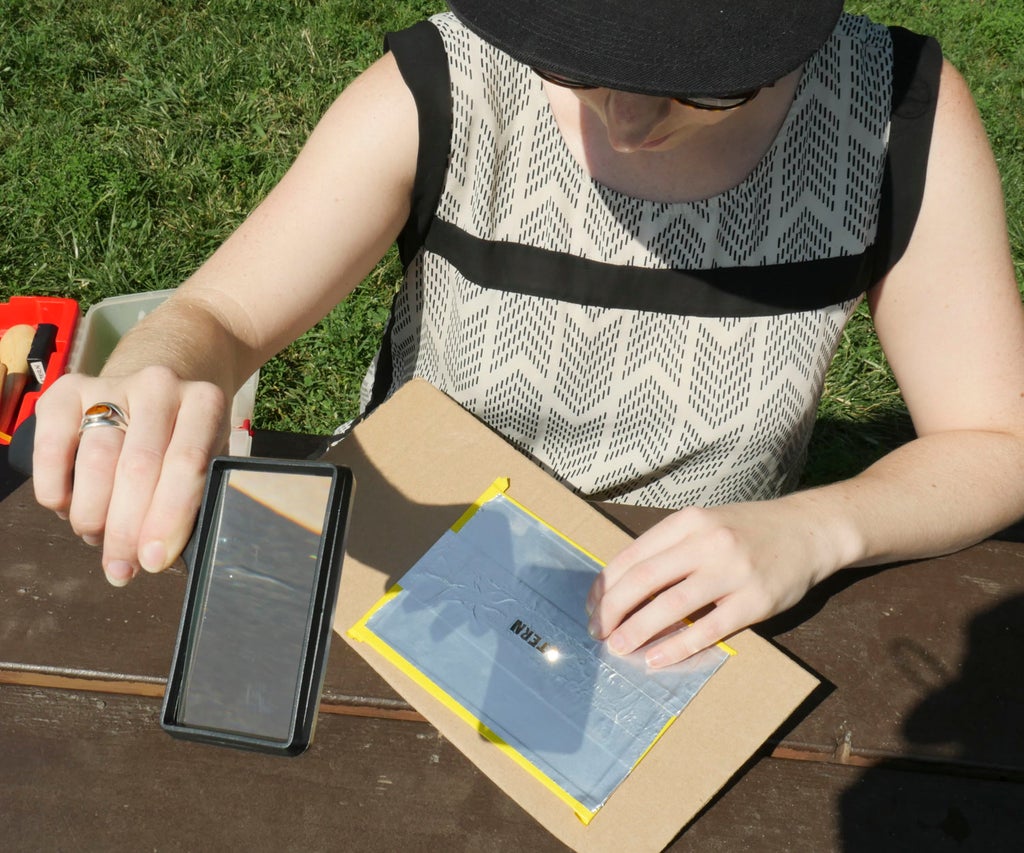
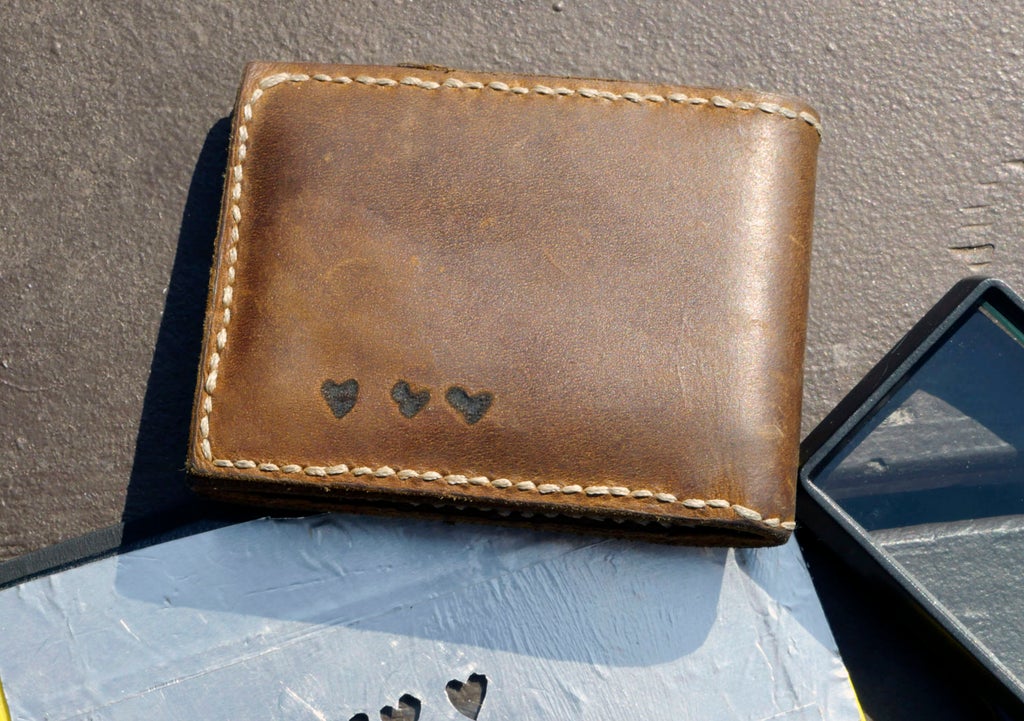
Take your new stencil, magnifying glass, and some materials with you to a bright and sunny post where you can easy tilt your work to directly face the Sunday. This technique works great along leather, cork, and unlifelike, and will also grave woods with a little overtime.
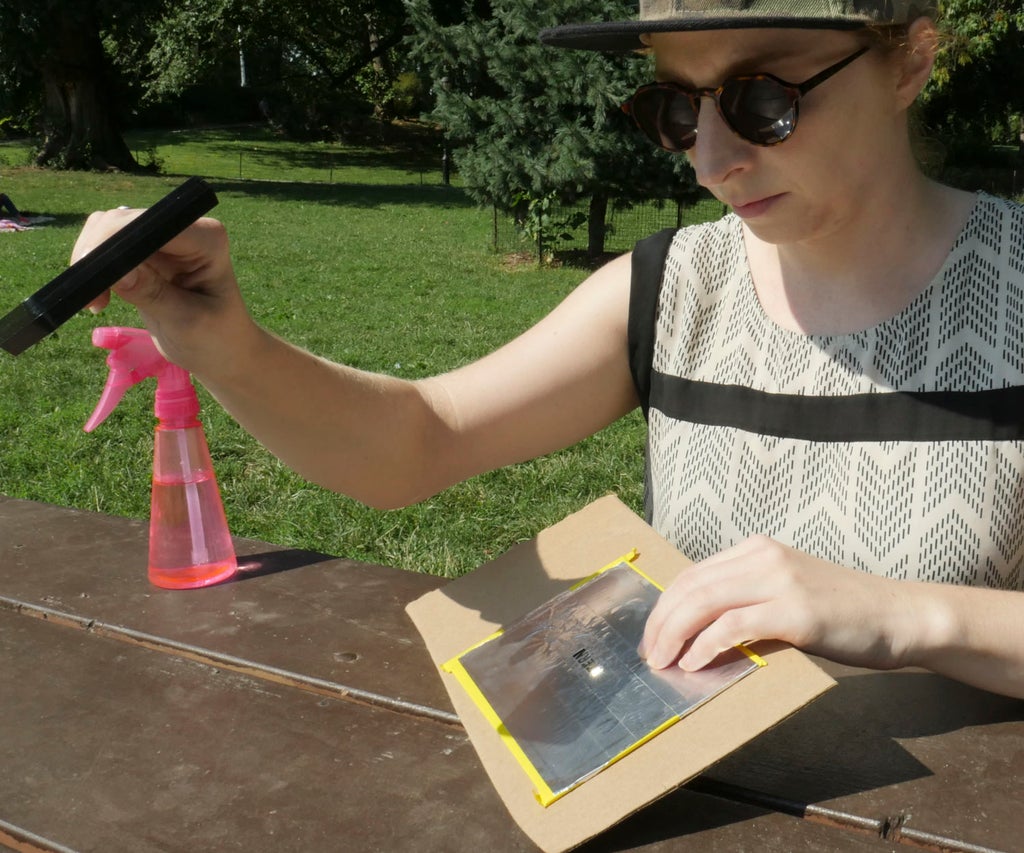
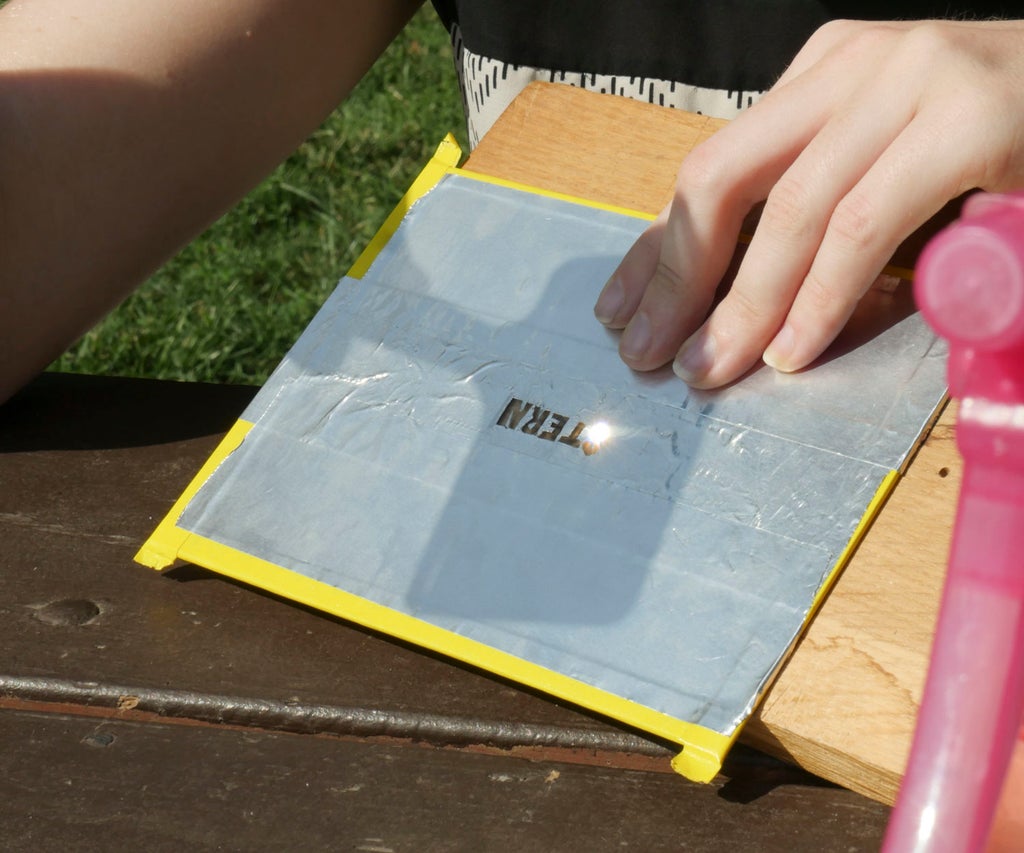
It's street smart to be prepared with a spray bottle of water just in case your material ignites. To stay radical safe while using this technique, I've got a extinguisher near as well. The concentrated shaft gets really hot, indeed hold it away from your work force.
You should clothing dark sunglasses to come through easier to see where your concentrated light glow is going, and also consider some sunblock and a hat.
Line up the distance and angle of the magnifying looking glass until the aim of candescent is every bit small as you can possibly stimulate it, and easy move the beam over all areas of the stencil. You may start to see some smoke forthcoming away from the etching site. When you've passed your beam all over the entire design, which may bring up several minutes, you may take out your stencil to see the results.
Stone's throw 7: Materials & Tips
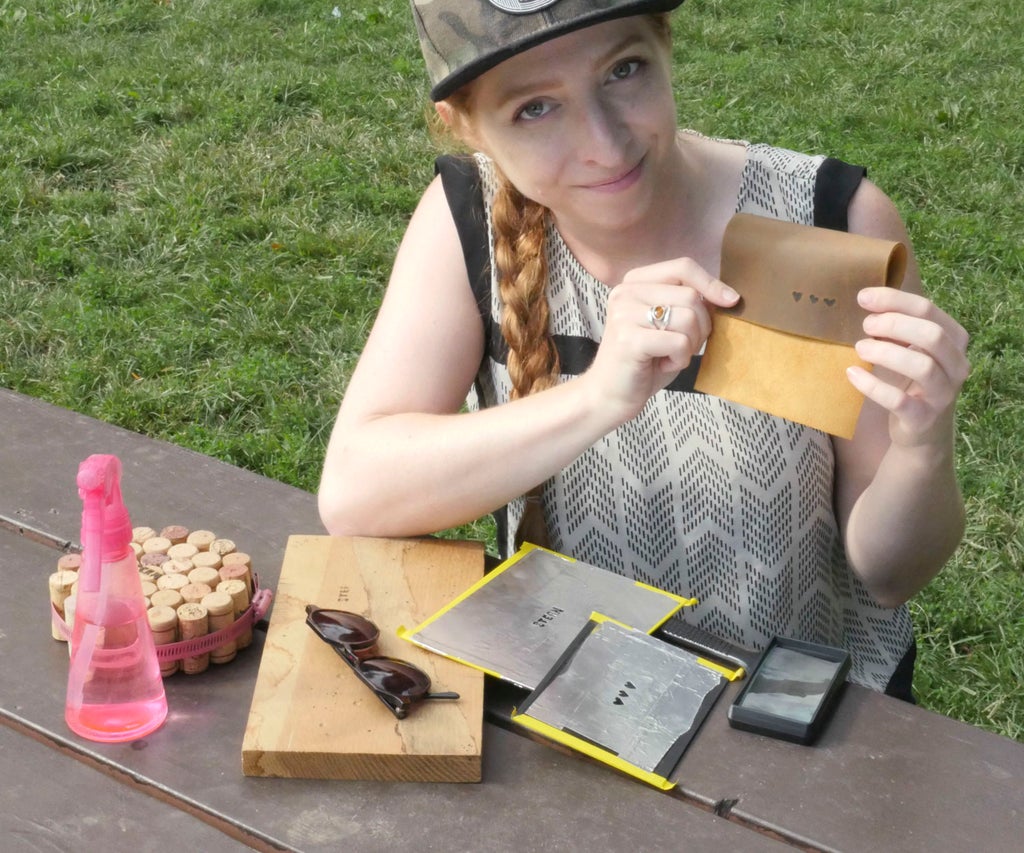
It's significantly easier to execute this technique when you can tilt your crop towards the Dominicus, which means IT's easier to engrave flat, simple shaped objects than, say, the grip of a hammer. You should only scratch organic materials. Don't grave plastics or else synthetic materials, which may produce harmful exhaust fumes and/or melt rather than engrave.
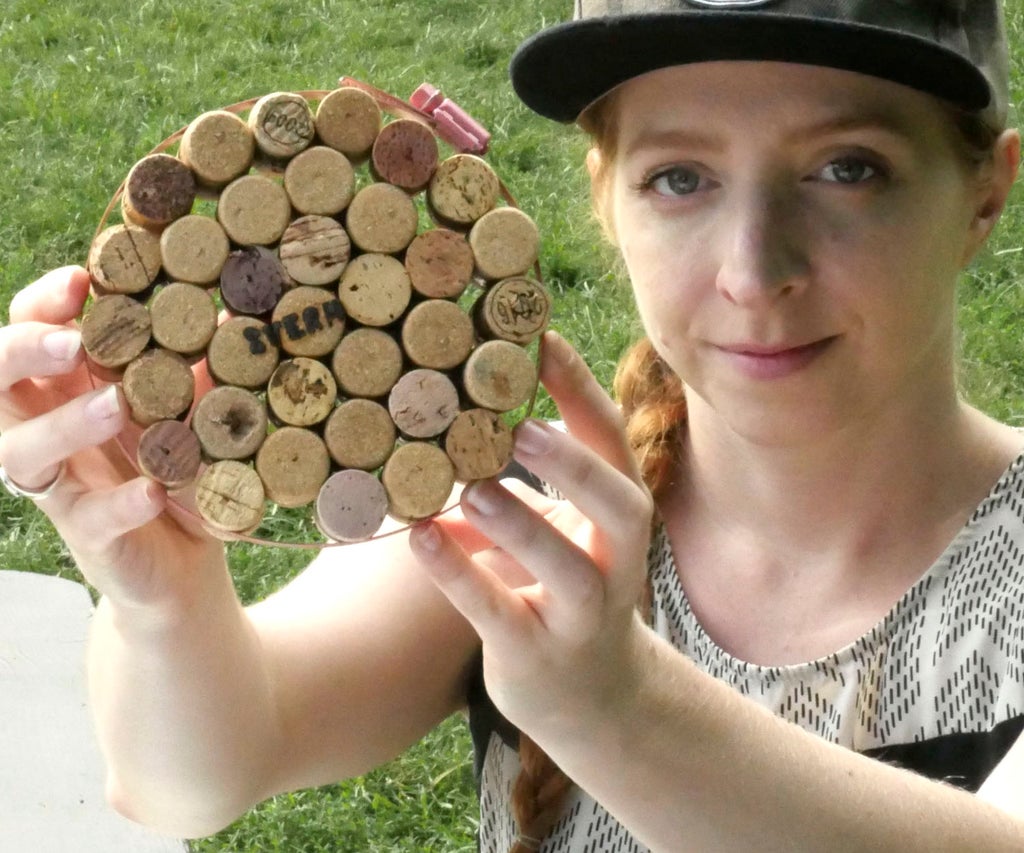
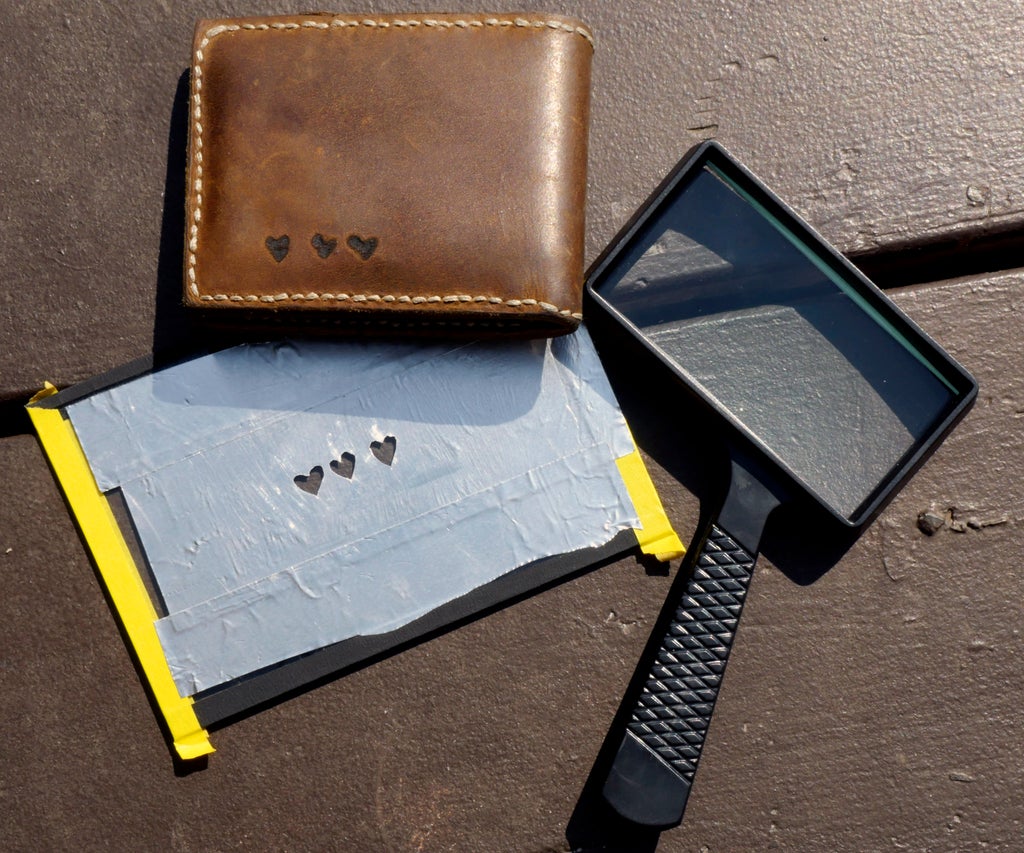
It was painless to inscribe a bland bobber trivet and a angulate piece of woodwind. You may notice different materials require several amounts of time to engrave effectively (wood is slower than cardboard, for object lesson).
See how it's hard to hold the stencil and the power hammer up to font the sun? Consider creating a jig to hold your object if IT isn't easily held at an angle from your operate surface.
If you property your stencil tape-side land, you'll get crisper lines at the edges of your engraved areas. This requires a symmetrical designing, OR sharp your design backwards at the stencil level.
Did you always think you'd be using the physics and of light to make? The convex shape of the magnifying glass collects photons on i side and unifies them at a single point arsenic they exit the other side. You can manipulation this same science to bulge a campfire with a pair of eyeglasses. The ease with which heat is generated depends on the abruptness of the converging lens. Please be responsible with this technique, and Don't commence forest fires.
Step 8: Future, Adjudicate...
The close time the Dominicus comes out, try it come out! I'd love to construe what you create with this technique. Delight post a pic in the Class Project section below, and also sound out the inspirational engraving projects to a lower place, and take a peek at our Laser Stinging Class to take this technique to the next level.
This project is part of my free Solar Class, where you rump find another backyard project and single lessons on working with solar panels. Check it out and inscribe; I'd love to see photos of your builds!
Beryllium the First to Partake in
Recommendations
Source: https://www.instructables.com/Solar-Engraving-1/
Posted by: mcgaugheytrachattee.blogspot.com
0 Response to "Solar Engraving : 8 Steps (with Pictures) - mcgaugheytrachattee"
Post a Comment